This is what we did last night: http://inchworms.net/travis
This is the inch-by-inch forehead sticker earnt by @meivx:

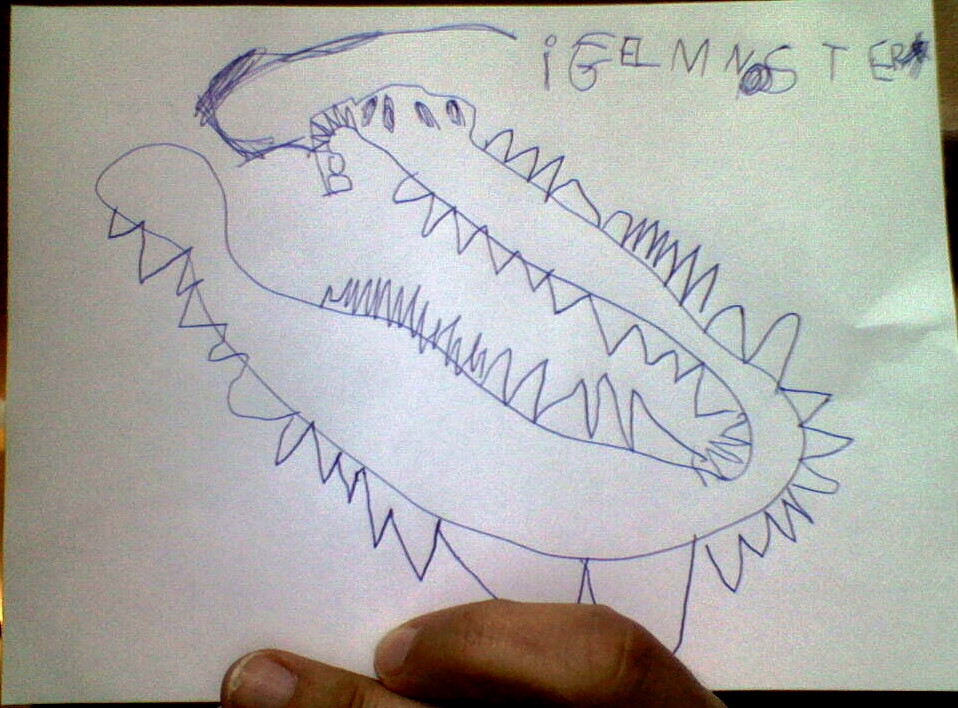
This is the best monster in the world:


This is what we did last night: http://inchworms.net/travis
This is the inch-by-inch forehead sticker earnt by @meivx:
This is the best monster in the world:
Today we had to do a lot of things: plan what we would work on in the last few weeks of RGSoC, start thinking about our presentation at RubyShift later in the month, bake a special cake for Travis (more on that tomorrow), and add a new table to our database. All in Anja’s kitchen.
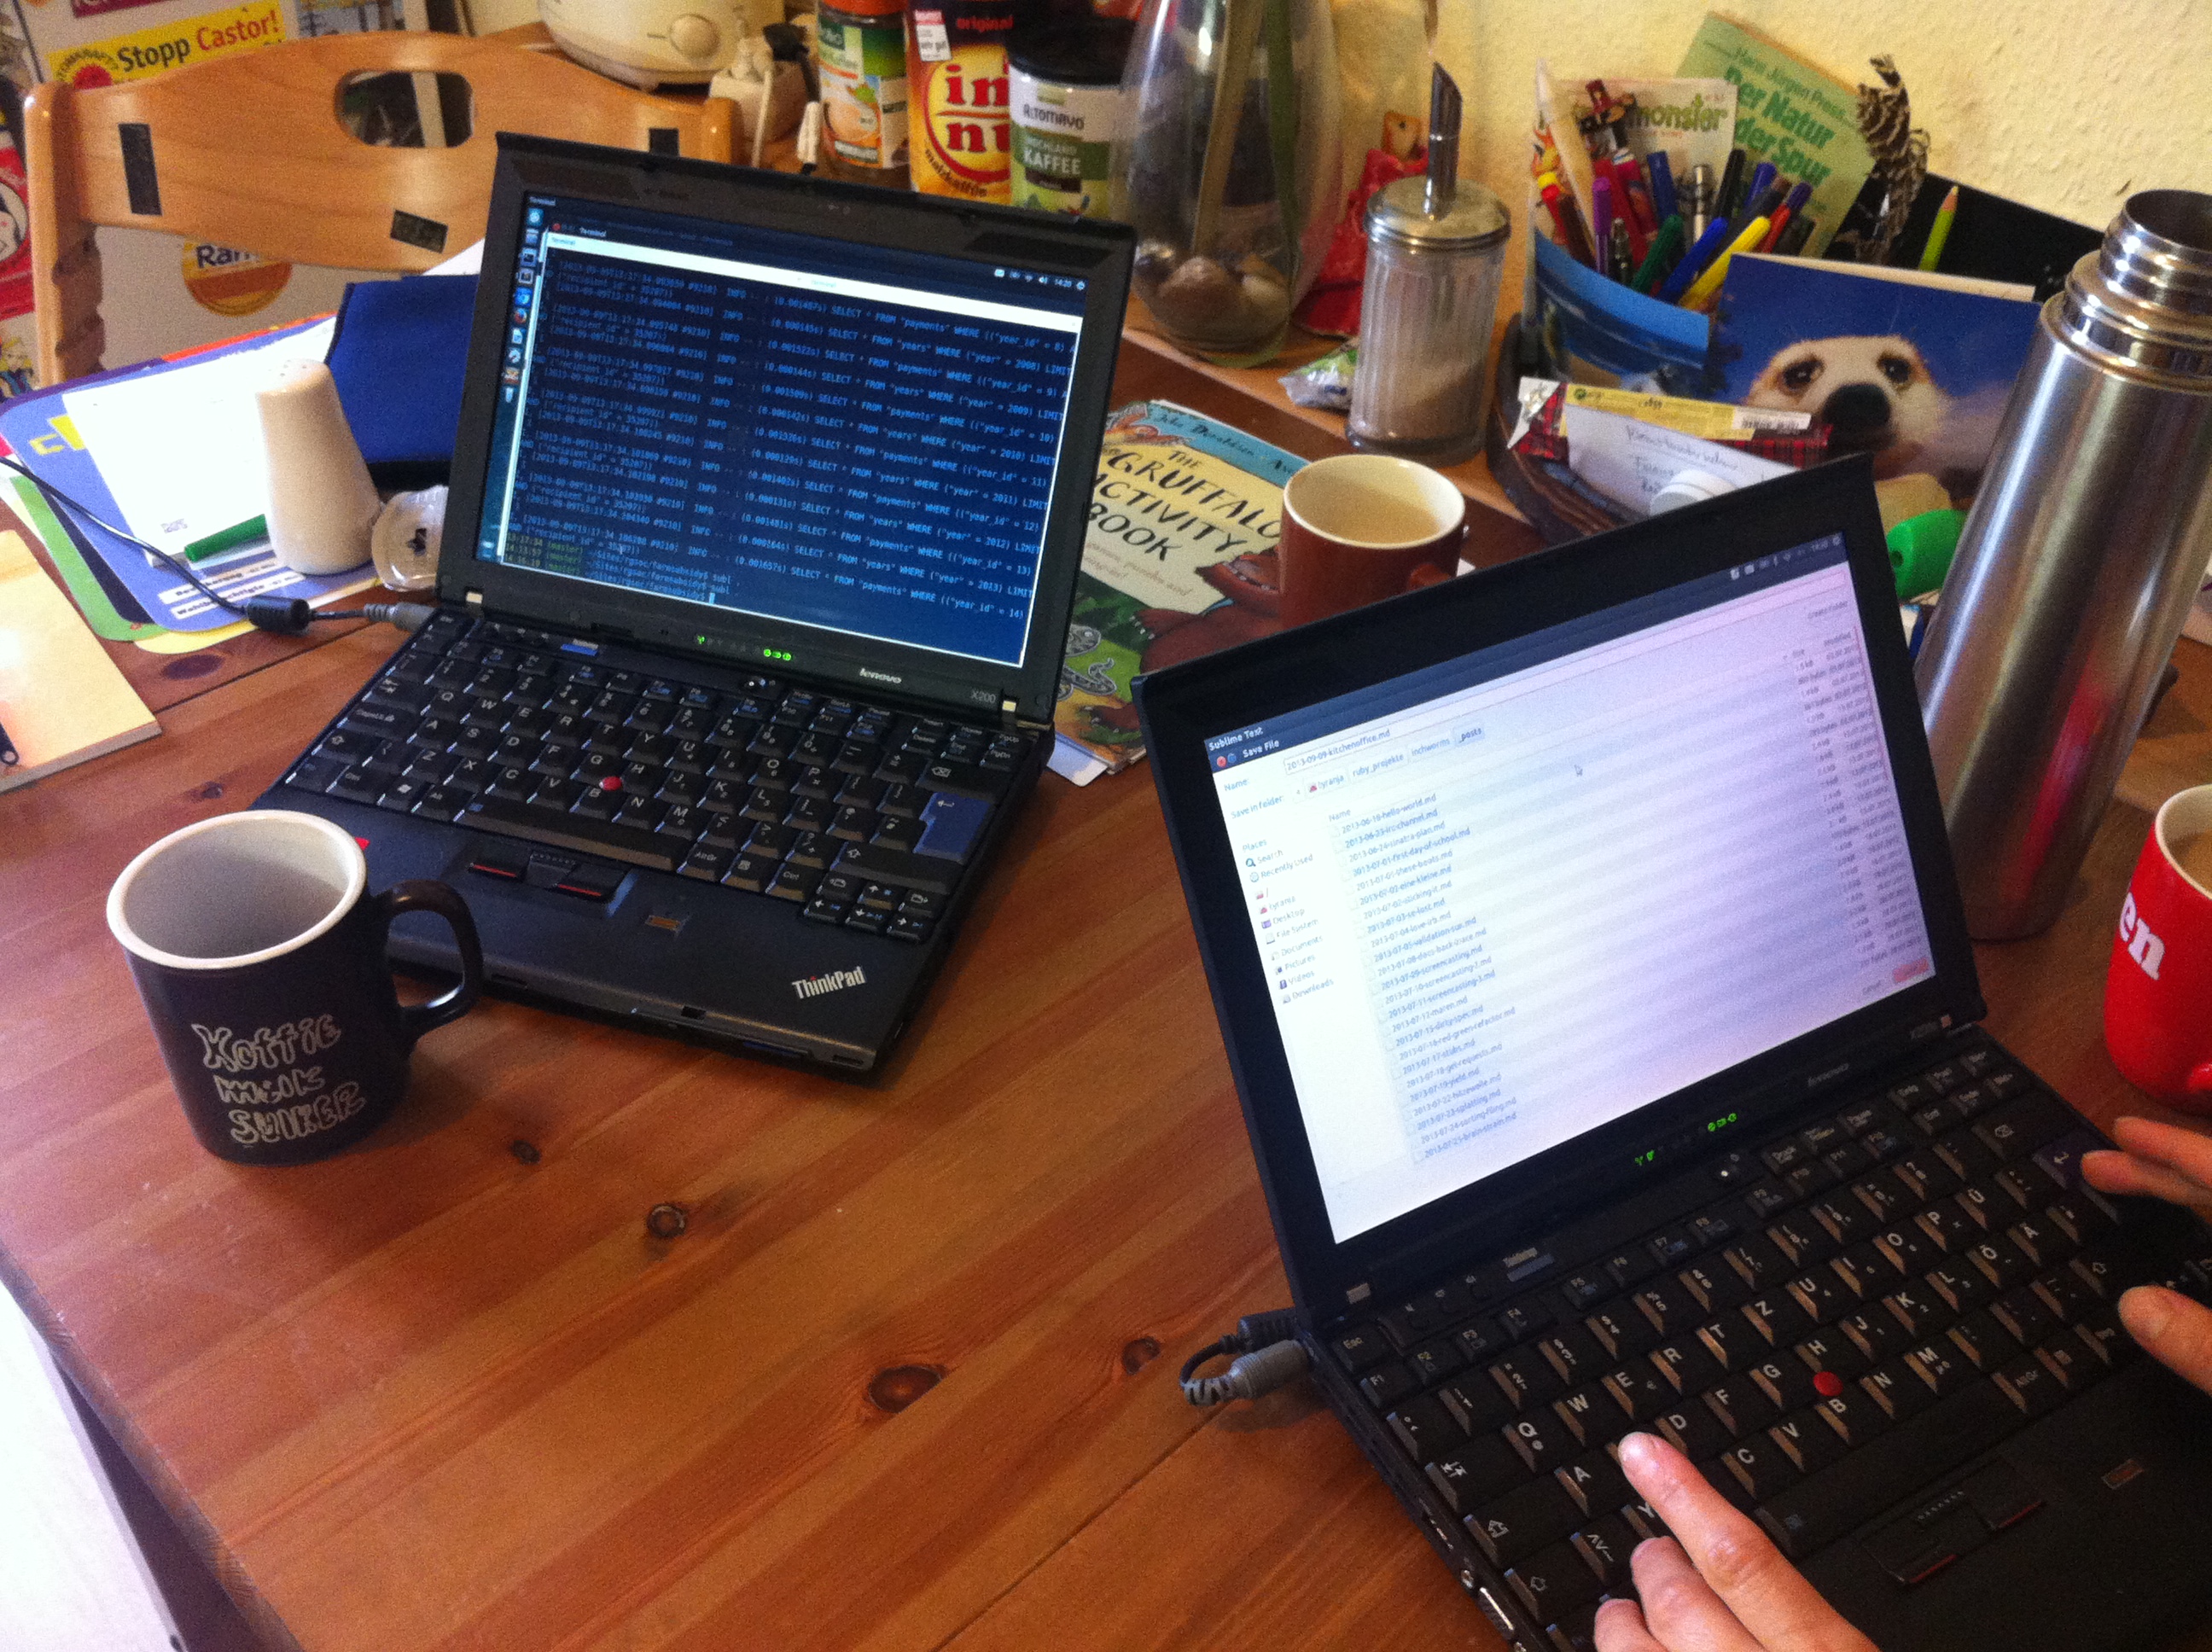
We wrote a new migration:
Sequel.migration do
  change do
    create_table(:payment_year_totals) do
      primary_key :id
      BigDecimal :amount_euro
      foreign_key(:year_id, :years)
      foreign_key(:recipient_id, :recipients)
    end
  end
end
and a rake task:
task :run_any_new_migration do
    require "sequel"
    Sequel.extension :migration

    DB = Sequel.postgres("farmsubsidy_performance")
    Sequel::Migrator.run(DB, './db/migrations', :use_transactions=>true)
end
and ruby code to populate it:
require 'rubygems'
require 'sequel'
require 'logger'


# connect to an in-memory database
DB = Sequel.postgres("farmsubsidy_performance", :loggers => [Logger.new($stdout)])

# connect to the models
project_root = File.dirname(File.absolute_path(__FILE__))
Dir.glob(project_root + "/models/*.rb").each{|f| require f}

# connect to payments total table and add data to the database
total_payment = DB[:payment_year_totals]

# look through all recipients and all years and insert the total amount
Recipient.all.each do |recipient|
  Year.all.each do |year|
    total = recipient.total_payment_amount_by_year(year.year)
    #make sure the total isn't 0
    if total != 0.0
      total_payment.insert(
        recipient_id: recipient.id,
        year_id: year.id,
        amount_euro: total
        )
    end
  end
end
…and now we have a new database with all the recipients and the total payments per recipient per year.
farmsubsidy_performance=# SELECT count(*) from payment_year_totals;
count
-------
5775
(1 row)
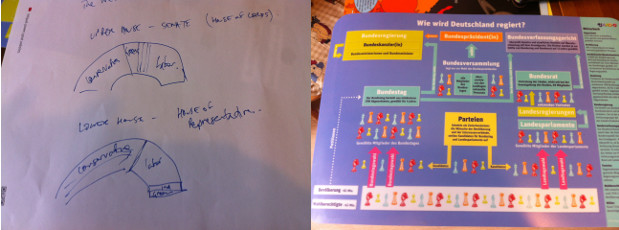
We also discussed the recent election in Australia, and its political system vs the German system. The German one seems to be slightly more difficult.
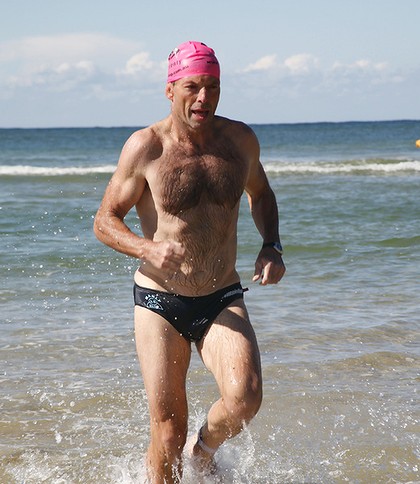
Anyway the winner of the election in Australia is:
Steps to upgrade your HDD to an SSD:
Viola!! Watch your databases populate a squillion times faster :-)
Today we created model classes for each of our database tables. It was way easier than we expected and required just a single line: class Year < Sequel::Model; end. Sometimes reading the documentation yields quicker-than-expected results!!
Then, after adding associations between the classes (such as one-to-many :recipients) we were able to dig around our dataset objects and look at (for example) what methods were available to what objects. payments_sorted.all.first.values.methods returned a different list of available methods to payments_sorted.all.methods.
We also worked out how to see what columns an object contained, and how to add a new key/value combination to it.
Tomorrow we’re both installing SSDs into our laptops. This may mean our computers will be out-of-action at the end of the day, so we may not be able to post here tomorrow…
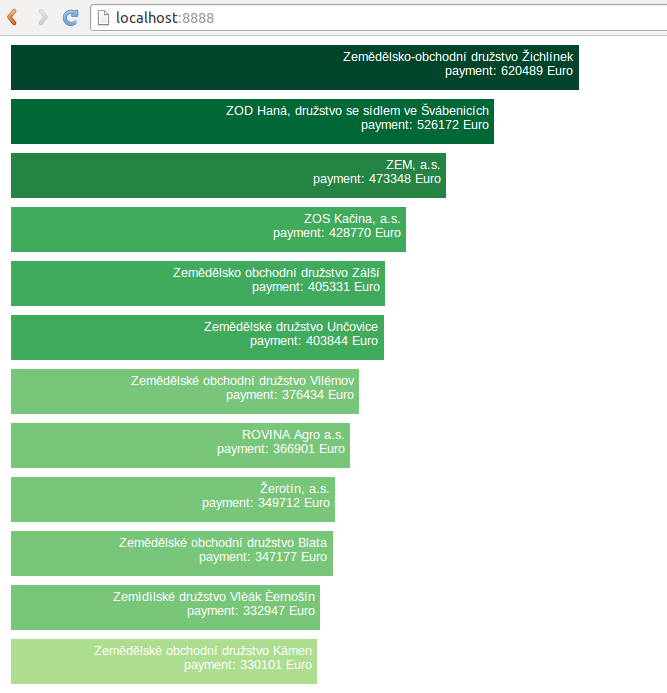
Today we continued working with our test data, making decisions about what we wanted to show and the data structure we would need to build. Our first objective was to show a bar chart of the top 20 subsidy recipients by year.
First step: retrieve the relevant data and “shove” it into a ruby hash.
	require 'csv'
	require 'rubygems'
	require 'sequel'
	require 'logger'

	# top_payments will be an aray of hashes with the final results
	# eg [{rank: 1, name: "horst", amount: 234556}, {...}]
	top_payments = []

	# connect to an in-memory database
	DB = Sequel.postgres("farmsubsidy_performance", :loggers => [Logger.new($stdout)])

	#select a year between 2004 and 2011
	p "Select a year between 2004 and 2011:"
	year_selection = gets

	# find the year_id from the years table
	year_id = DB[:years].where(year: year_selection.to_i).first[:id]

	# find payments by year, order them by amount, and return the first 20
	payments_sorted = DB[:payments].where(year_id: year_id).reverse_order(:amount_euro).limit(20)

	# find recipient name, create an index, shove it into top_payments hash
	payments_sorted.each_with_index do |payment, index|
		recipient_name = DB[:recipients].where(id: payment[:recipient_id]).first[:name].gsub("\"", "")
		top_payments << {rank: index+1, name: recipient_name, amount: payment[:amount_euro]}
	end

	p top_payments
Then, use the hash to create a CSV file.
	CSV.open("top_payments.csv", "w", :force_quotes => true) do |csv|
	  i = 0
	  csv << ["rank","name","amount"]
	  while i < top_payments.length
	    csv << [top_payments[i][:rank],top_payments[i][:name],top_payments[i][:amount].to_i]
	    i += 1
	  end
	end
Finally, write some d3 code to parse the csv file and display the data like this:
It made us feel like this: